Ceiling Cracks: What’s Normal and When to Get Help | USA Homewise
Ceiling Cracks in Your Home? How to Tell What’s Normal and What Needs Repair
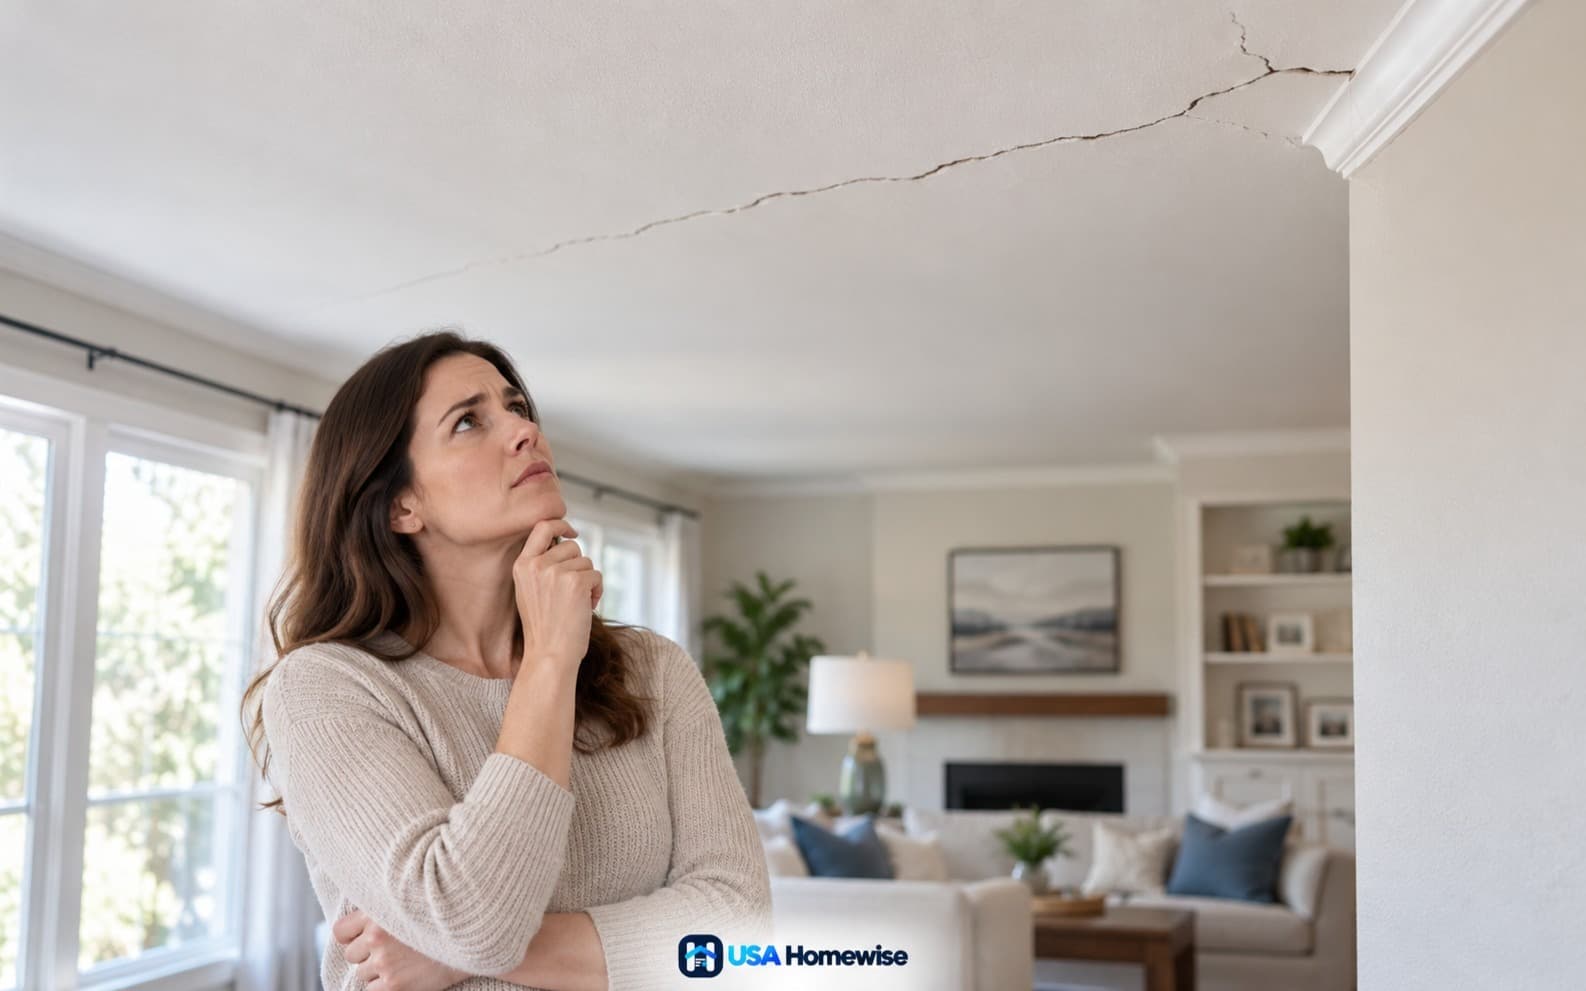
A ceiling crack may be a minor finish defect—or a sign of moisture, loose plaster, or structural movement. Changes over time and nearby warning signs matter more than shape or width alone.
Ceiling Cracks in Your Home? How to Tell What’s Normal and What Needs Repair
Ceiling cracks do not automatically mean your home has a structural problem. Small cracks can develop in paint, drywall joints, or plaster as materials dry and move. But a crack accompanied by sagging, water damage, or sudden movement needs a different response than a stable hairline in a flat, dry ceiling.
Check three things first: Is the crack changing? Is the ceiling dry and flat? Are there new signs of movement elsewhere? No crack shape or width, by itself, proves that a ceiling is safe.
First, Check for Urgent Warning Signs
Look from a safe location before touching the ceiling or setting up a ladder. Keep people and pets out of the affected area if you notice:
New or increasing sagging, bulging, or sections pulling away.
Falling plaster or drywall, sudden cracking sounds, or visible movement.
Rapidly developing cracks after an impact, storm, earthquake, or construction work.
Water collecting in the ceiling or leaking through a light fixture.
Ceiling cracks accompanied by obvious new distortion in walls, floors, or framing.
If collapse appears possible, leave the affected area immediately. If movement appears widespread, leave the building by a safe route and contact emergency services. Do not pass beneath an unstable ceiling to investigate. If you cannot exit safely, call emergency services from a safe location and explain the situation.
Never puncture a water-filled ceiling bulge, push on loose material, or enter the attic above a potentially unstable ceiling. Damaged materials may fall unexpectedly.
If water is near electrical equipment, avoid affected switches, fixtures, and wet surfaces. Turn off the relevant circuit only if the panel and access route are dry and safe; otherwise, keep clear and call an electrician. Do not restore power to water-exposed equipment until it has been assessed.
What Different Ceiling Cracks May Mean
These patterns help you decide what to check next. They are not a substitute for an on-site assessment.
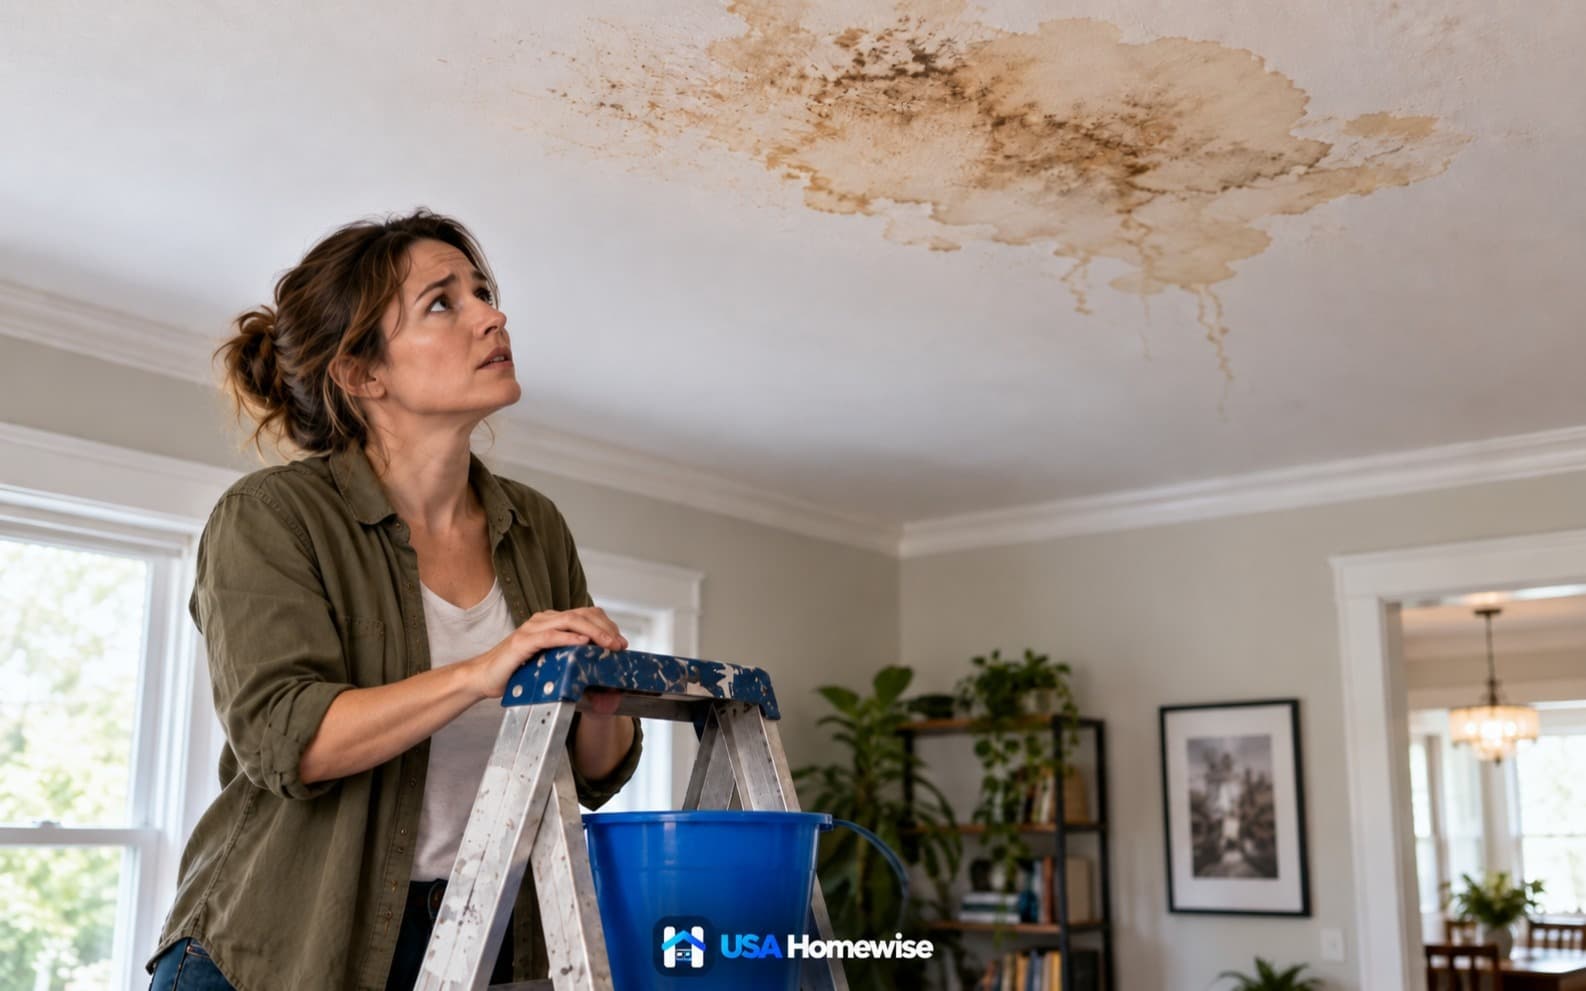
The source of a ceiling water stain may not be directly above it. Use weather, fixture use, and AC operation to narrow down the cause—without opening a wet ceiling or creating more damage.
Paint failure, finish shrinkage, or minor material movement
Photograph and monitor if the ceiling appears stable
A straight crack along a drywall joint
Failed tape, a finishing defect, or movement between panels
Check for moisture and continuing movement before repairing
A gap where a wall meets the ceiling
Seasonal framing movement or a joint-detail problem
Track changes; have recurring or growing separation assessed
Branching or web-like cracks in plaster
Finish cracking or deterioration of the plaster system
Get bulging, displaced, or extensive damage evaluated
A crack with staining, peeling paint, or damp-looking material
A roof, plumbing, or condensation problem
Investigate the moisture source before patching
A widening crack, uneven edges, or a crack extending down a wall
Movement that may involve more than the finish
Arrange a qualified inspection, especially with other new symptoms
A crack across a sagging ceiling
Wet materials, failed attachment, framing deflection, or another significant defect
Keep clear and obtain urgent professional assessment
Hairline Cracks Can Be Cosmetic
Fine cracks confined to paint or a finish layer are generally less concerning when the ceiling is dry, flat, and unchanged over time. Drywall joint compound can also crack as it dries or as adjacent materials move.
Still, “hairline” describes appearance, not cause. A narrow crack that appears suddenly with sagging or water damage needs prompt attention.
Straight Cracks Often Follow Drywall Seams
Drywall panels meet at taped joints. A straight crack may develop if the tape loses adhesion, the joint was poorly finished, or the panels move.
A thin smear of compound may hide the crack without fixing the failed joint. Repeated cracking can also point to inadequate support or continuing movement, so recurring seam cracks deserve more than another surface patch.
Wall-to-Ceiling Gaps May Be Seasonal
Wood framing changes dimension as its moisture content changes. In some homes, seasonal roof-truss movement can open a gap where an interior partition meets the ceiling.
A gap that opens and closes seasonally may have a nonstructural explanation, but the pattern does not prove that. A qualified contractor can assess the connection and choose a repair detail that accommodates the identified movement. Do not cut, brace, or alter a roof truss as a DIY repair.
Plaster Cracks Need an Attachment Check
Older plaster ceilings may develop surface cracks while remaining securely attached. They can also separate from the lath or other backing that supports them.
Patching the surface does not restore failed attachment. Bulges, displaced sections, and falling fragments warrant professional assessment even when the cracks themselves are small. Do not tap or push on suspicious plaster to test whether it is loose.
How to Assess a Ceiling Crack Safely
If there are no urgent warning signs, document the condition before choosing a repair.
1. Record Its Location and Appearance
Take a wide photo showing the room and a close-up of the crack. Record the date and note whether the crack:
Follows a drywall seam or the wall-to-ceiling joint.
Crosses the ceiling or continues down a wall.
Sits below a bathroom, attic equipment, or a roof area.
Has staining, displaced edges, or nearby peeling paint.
Include a ruler for scale only if you can do so safely without touching suspect material. Do not balance on furniture or position a ladder beneath damaged ceiling sections.
2. Look for Related Changes
From safe, accessible areas, check for new wall cracks, doors or windows that recently began sticking, noticeable changes in floor slope, staining, or musty odors.
Also note recent leaks, remodeling, removed walls, altered framing, or heavy storage added above the room. One sticking door does not establish structural damage; several new symptoms appearing together deserve closer investigation.
Do not walk on attic drywall or disturb insulation to trace the crack. Leave investigation of concealed or difficult-to-access areas to a professional when safe access is uncertain.
3. Track Change Rather Than Relying on Width
For an apparently minor crack in a dry, flat ceiling, keep dated photos and compare them after a few weeks and through relevant seasonal changes. This is a documentation approach, not a guarantee of safety. If you suspect moisture, arrange a leak investigation rather than waiting for visible growth.
There is no universal crack-width cutoff that separates cosmetic damage from structural trouble. Changes in width or length, displaced edges, and surrounding conditions matter more than a single measurement.
Stop monitoring and arrange an inspection if the crack grows, staining appears, the edges become uneven, or other symptoms develop. Sagging, falling material, or sudden movement calls for urgent action. If you cannot tell whether the ceiling is stable, have it assessed before repairing it.
Who Should You Call for Ceiling Cracks?
Choose a professional based on the suspected cause, not just the visible finish damage.
Situation
Appropriate starting point
Stable drywall seam crack without moisture or movement concerns
Qualified drywall contractor
Cracked or deteriorated plaster
Contractor experienced in plaster assessment and repair
Staining beneath a roof or exterior penetration
Qualified roofer or building-envelope professional
Moisture beneath a bathroom or plumbing line
Licensed plumber
Possible leak from attic HVAC equipment or a condensate line
Qualified HVAC contractor
Water at a ceiling light or other electrical equipment
Licensed electrician, plus the professional correcting the leak
Growing cracks, displaced edges, or multiple new signs of movement
Licensed structural engineer
Sagging, falling material, or suspected instability
Keep the area clear and seek urgent professional help; contact emergency services if collapse appears possible
A structural engineer can evaluate whether load-bearing components are involved and assess proposed structural repairs. A cosmetic patching estimate is not a substitute for that evaluation.
Tell the professional about recent construction, leaks, unusual loading, and when symptoms first appeared. Do not enter a questionable attic or crawl into an unstable space to remove loads yourself.
How to Repair a Minor Ceiling Crack
DIY repair is appropriate only when the problem has been identified as a minor finish or drywall-joint defect, the ceiling is dry and secure, and hazardous-material concerns have been resolved. If the cause or attachment is uncertain, get an assessment first.
Check Older Finishes Before Scraping or Sanding
Some older ceiling textures, joint compounds, and other building materials may contain asbestos. Appearance alone cannot identify it. Before scraping, sanding, drilling, or removing suspect material, consult a trained, accredited asbestos professional about whether sampling is needed. Do not collect samples yourself.
Painted surfaces in homes built before 1978 may contain lead. Arrange appropriate testing or plan the work using lead-safe practices. For covered hired renovation work, use an EPA- or authorized state-program-certified lead-safe firm, as applicable. Ordinary dust masks and routine cleanup do not replace hazardous-material controls.
Fix the Cause, Then Restore the Finish
Once the area is suitable for ordinary repair:
Correct the underlying problem. Address leaks, failed joints, or attachment defects before concealing the crack. Leave structural repairs and uncertain overhead attachment work to qualified professionals.
Confirm that materials are dry and sound. Soft, swollen, sagging, or deteriorated drywall may need replacement rather than filler. A dry-looking surface does not establish that a previously wet ceiling cavity is dry.
Prepare the damaged finish. Remove loose material only where safe, following the repair product’s directions. Use stable work access and keep the area below clear.
Repair the failed layer. A paint-only defect needs different preparation from a cracked drywall seam. For a failed seam, use a compatible tape-and-compound system rather than filler alone.
Apply thin finish coats. Follow the manufacturer’s instructions for coat thickness, drying or curing, and feathering the edges.
Smooth, prime, and paint. Control ordinary repair dust and use eye protection and respiratory protection appropriate to the materials and product instructions.
Do not drive screws randomly into a ceiling: wiring, plumbing, framing location, and attachment conditions must be understood first. Loose overhead plaster is not a beginner patching project, and rigid filler alone is unlikely to solve a joint that keeps moving.
Why Ceiling Cracks Come Back
A recurring crack can mean the repair did not address the underlying cause. Possibilities include:
Seasonal movement at the wall-to-ceiling connection.
Poorly bonded joint tape.
Loose drywall or an inadequately supported seam.
Continuing moisture exposure.
Deteriorated plaster attachment.
Framing or foundation movement.
If a repair reopens, reassess the cause instead of simply applying a thicker patch. The right repair should correct the defect or accommodate the identified movement—not just cover it.
The Bottom Line
A stable hairline crack in a flat, dry ceiling may be a minor finish issue. A changing crack, displaced edges, moisture damage, or sagging needs investigation before repair. Document apparently minor cracks, address leaks promptly, and bring in a qualified professional whenever the cause or ceiling stability is uncertain.
Frequently asked questions
How can I tell if a ceiling crack is structural?
Appearance alone cannot reliably establish whether a crack is structural. Growth, displaced edges, sagging, and new changes in walls, floors, doors, or windows warrant professional assessment. A licensed structural engineer can evaluate whether load-bearing components are involved.
How wide does a ceiling crack have to be before I should worry?
There is no universal safe-width rule. Changes over time, displaced edges, moisture, and surrounding distortion matter more than a single measurement. Even a narrow crack needs urgent attention if the ceiling is sagging, shedding material, or visibly moving.
Can I just paint over a ceiling crack?
Paint will not repair failed drywall tape, cracked joint compound, or damaged plaster. Identify the affected layer and confirm that the ceiling is dry and secure before preparing, repairing, priming, and painting it. Resolve lead and asbestos concerns before disturbing older finishes.
Can a ceiling crack appear after a roof leak has stopped?
Yes. Damage may become visible as wet materials dry, shrink, or lose adhesion. A stopped drip does not prove that the ceiling cavity is dry or that damaged materials remain securely attached. Correct the leak source and have affected materials assessed before covering the damage.
Are ceiling cracks normal in a new house?
Minor finish cracks can develop as building materials dry and adjust to indoor conditions. Photograph the damage and notify the builder within applicable warranty periods. Do not dismiss widening cracks, sagging, or water damage simply because the house is new.