How to Remove Mold From Bathroom Walls Safely | USA Homewise
How to Remove Mold From Bathroom Walls — and Keep It From Coming Back
Small mold patches on intact, washable bathroom walls may be manageable with careful cleaning. Learn when to use detergent and water, when damaged materials need professional attention, and how to address the moisture behind recurring growth.
How to Remove Mold From Bathroom Walls — and Keep It From Coming Back
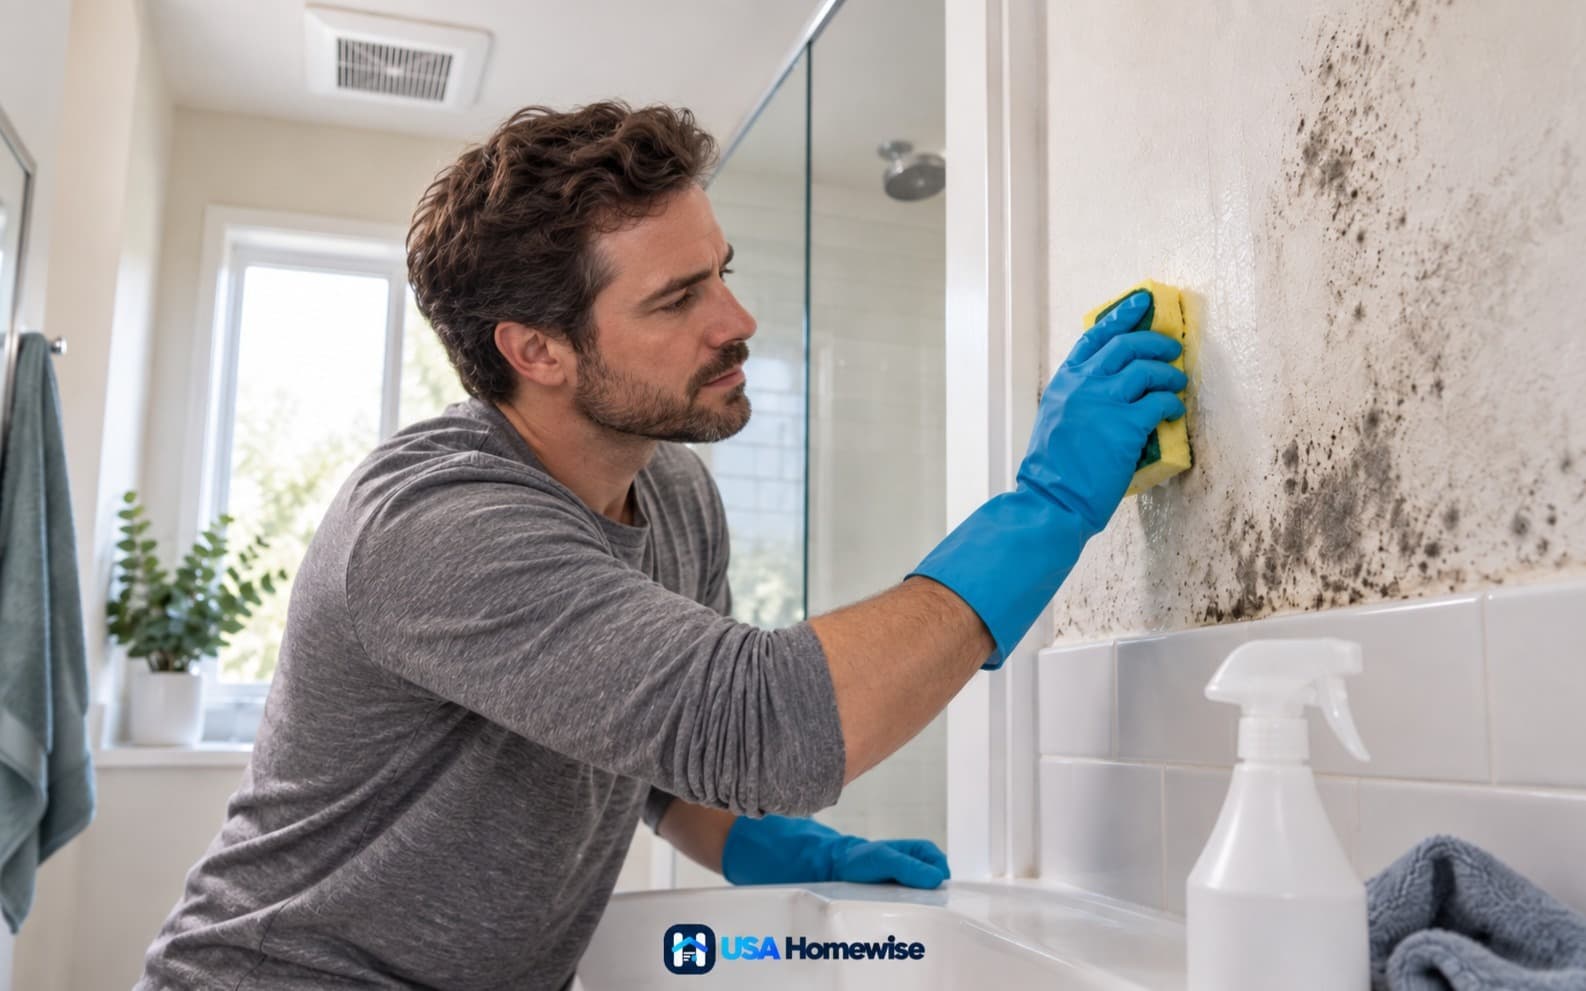
To remove a small mold patch from a bathroom wall, correct the moisture problem, clean the sound, washable surface with detergent and water, and dry it thoroughly. Wear appropriate protection and avoid soaking painted drywall. Soft wallboard, peeling finishes, hidden moisture, or recurring growth may require material replacement rather than more cleaning.
The important distinction is between mold on a cleanable surface and mold growing in damaged, porous material. Removing a stain—or painting over it—does not resolve the underlying problem.
Decide Whether DIY Mold Cleanup Is Appropriate
EPA homeowner guidance uses an affected area smaller than about 10 square feet as a general guideline for cleanup homeowners can often handle themselves. That is roughly a 3-foot-by-3-foot patch, but size alone does not determine whether the job is suitable. Consider the combined affected area, not just the largest spot.
A DIY cleanup is most appropriate when all of these conditions apply:
The growth is limited to a small, safely accessible area.
The surface is hard and washable, or the painted finish is intact and washable.
The wall is not soft, swollen, crumbling, or persistently wet.
There is no sewage contamination, extensive water damage, or reason to suspect mold inside the wall or HVAC system.
You can identify and correct the moisture source.
Consult a qualified mold-remediation professional for larger areas, significant water damage, suspected hidden growth, or mold that returns despite moisture control. Sewage-contaminated water requires a professional experienced in contaminated-water cleanup. If you suspect HVAC contamination, do not run the affected system until it has been assessed.
People with asthma, chronic lung disease, immune suppression, or significant mold allergies should not perform mold cleanup. Keep them away from the affected area and seek medical advice for symptoms or individual exposure concerns.
Mold Color Does Not Determine the Cleanup Method
Black, green, or white growth does not reliably identify a mold species or its health risk. Visible mold is enough reason to address moisture and clean or remove affected materials. Routine testing is generally unnecessary when mold is already visible; it does not replace finding and fixing the water source.
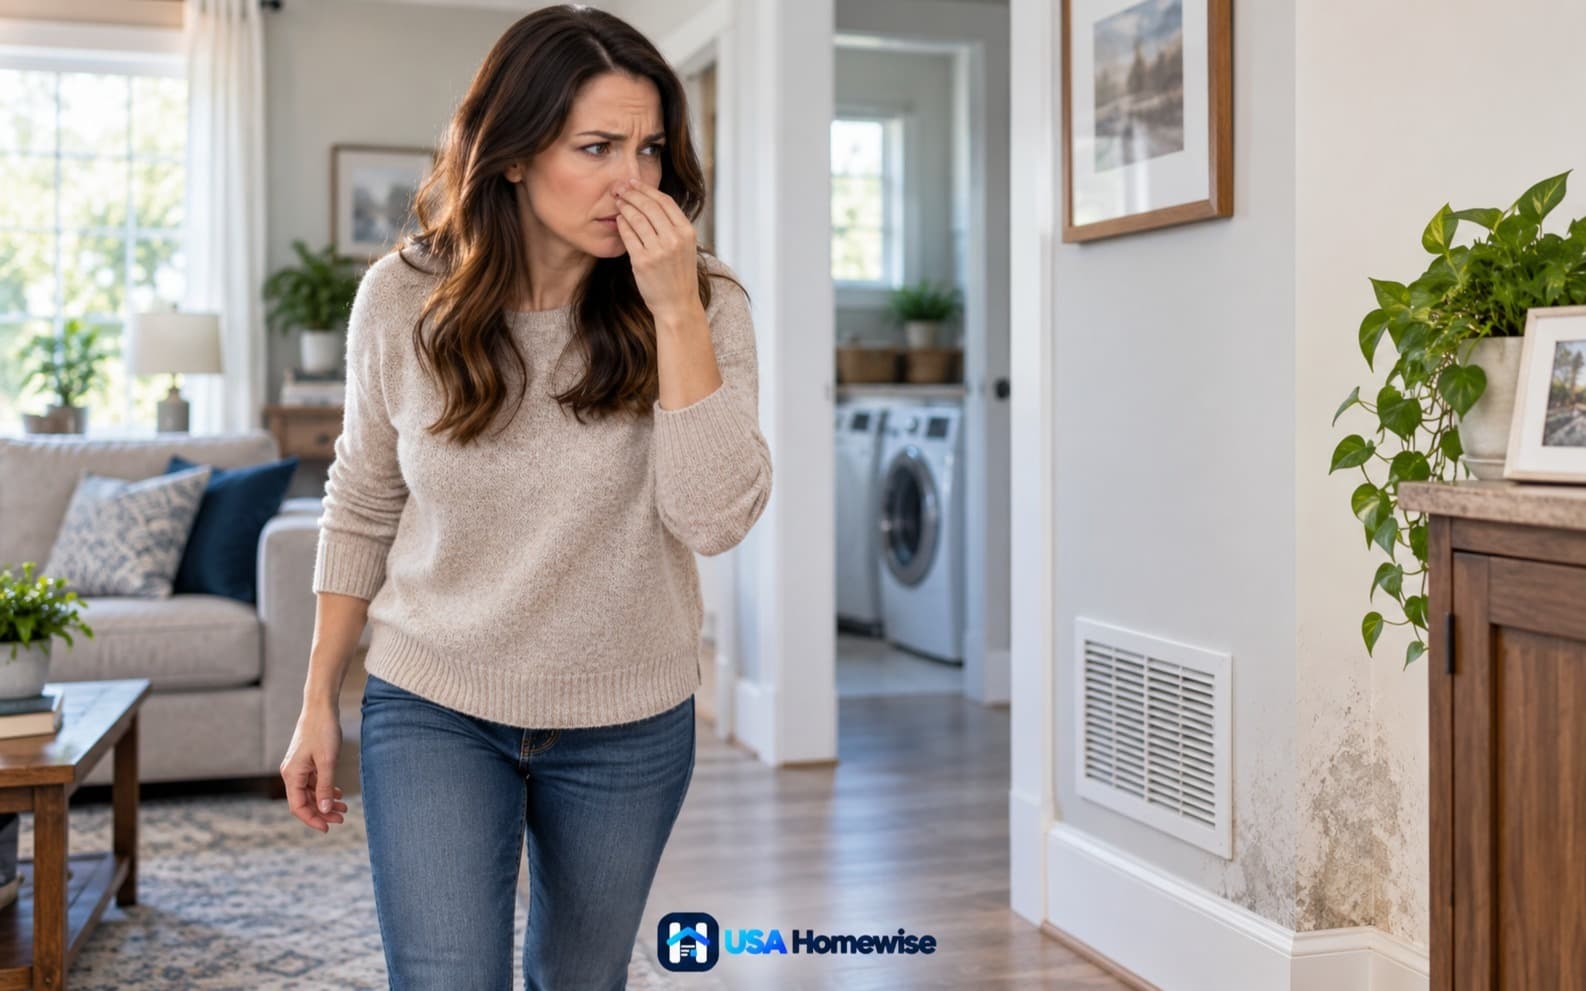
A musty smell that survives cleaning often points to moisture you haven’t found yet. Check these seven potential sources, learn what you can safely inspect, and know when professional help is needed.
Before cleaning, investigate why the wall stays damp. These patterns can help guide an inspection, but they are not definitive diagnoses.
What you notice
What to investigate
Speckling high on walls after showers
Condensation, insufficient exhaust, or prolonged humidity
A localized stain near plumbing
A leaking supply line, drain, valve, or connection
Growth beside a tub or shower seam
Failed sealant, escaping shower water, or a waterproofing problem
Bubbling paint, swollen trim, or soft drywall
Ongoing wetting or concealed water damage
Dampness on an exterior wall
Condensation on a cold surface or water entering from outside
Stop using a fixture if it is feeding a leak. Use a plumber for concealed plumbing leaks and an appropriate qualified contractor for roof leaks, exterior water entry, or shower-waterproofing failures.
If water is near outlets, switches, or wiring, stay clear and have an electrician assess the hazard before cleanup. Do not touch wet electrical equipment.
Do not cut into a suspect wall just to look for mold. Opening a cavity can spread contamination and expose wiring, plumbing, or hazardous older building materials. Repairs that disturb possible lead paint or asbestos-containing materials need assessment and appropriate precautions before work begins.
Choose the Right Approach for the Wall Material
The wall's condition matters as much as the size of the mold patch.
Surface or condition
Appropriate next step
Glazed tile or another hard, washable surface
Clean with detergent and water, remove residue, and dry thoroughly.
Intact, washable painted wall
Gently clean a small surface patch without soaking or abrading the finish.
Bare drywall or exposed paper facing
Porous material may not be fully cleanable; assessment and replacement may be necessary.
Soft, swollen, or crumbling wallboard
Stop surface cleaning and arrange assessment of the damaged material and moisture source.
Damp, lifting, or musty wallpaper
Investigate possible growth in the paper, adhesive, or wall behind it.
Grout or caulk
Clean accessible surface growth; deteriorated grout or persistently moldy sealant may need repair or replacement.
Paint does not make drywall waterproof. A sound, washable finish may allow gentle cleaning of surface mold, but bubbling paint, softness, a persistent odor, or recurring growth suggests a deeper problem.
Surface caulk also cannot correct failed waterproofing behind shower tile. Resolve underlying damage before resealing joints.
How to Remove Mold From Bathroom Walls Step by Step
Use these steps only for a small patch on a suitable, undamaged surface.
1. Gather Supplies and Protect Yourself
You will need:
A well-fitting N95 respirator
Goggles without open ventilation holes
Gloves compatible with the cleaning product
Long sleeves and washable work clothes
Mild detergent and water
A bucket, soft cloths, and a nonabrasive sponge
Bags for discarded cleaning materials
An N95 helps filter airborne particles; it does not protect against chemical gases or vapors. Follow all cleaner-label precautions.
Keep children, pets, and other occupants out of the bathroom during cleanup. Move towels and toiletries out of the splash area. Do not dry-brush, sand, or use an ordinary household vacuum on mold.
2. Ventilate Without Blowing Mold Into the House
Use a functioning bathroom exhaust fan that vents outdoors, provided the fan and duct are not suspected of contamination. An open window may help when outdoor weather and humidity permit.
Do not aim a portable fan at visible mold or direct air from the work area into adjacent rooms. Avoid unnecessary disturbance while preparing the space.
3. Clean With Detergent and Water
Prepare the detergent solution according to its directions. For painted walls, confirm that the finish is washable and test an inconspicuous spot first.
Dampen a cloth or sponge rather than soaking the wall. Gently wipe away the growth. On glazed tile, use a nonabrasive sponge with enough agitation to remove buildup without damaging surrounding grout or finishes. On painted drywall, use minimal moisture and avoid vigorous scrubbing.
Change dirty cloths and cleaning water as needed. Stop if the paint lifts, drywall paper becomes exposed, or the wall feels soft. More scrubbing can damage the finish without resolving mold within the material.
4. Remove Residue and Dry Thoroughly
Remove detergent residue as directed, using a clean, lightly damp cloth when appropriate. Dry the surface with clean cloths, then continue exhaust ventilation or dehumidification until the area is dry.
Bag disposable cleaning materials before carrying them through the house. Clean reusable equipment, launder reusable cloths and work clothes, and wash your hands after removing protective gear.
5. Inspect Before Repainting or Recaulking
Once dry, check the wall for visible growth, dampness, musty odor, and damaged finishes. Discoloration can remain after cleaning, so a stain alone does not establish whether mold is still present. Persistent odor, returning spots, or moisture warrants further investigation.
Do not paint or caulk over mold. Refinish only after affected material has been cleaned or replaced, the moisture source corrected, and the wall fully dried. Bathroom-rated paint may help protect the repaired finish, but it cannot solve a leak or persistent condensation.
Should You Use Bleach, Vinegar, or a Mold Spray?
Bleach is not the default treatment for routine mold cleanup. EPA guidance does not recommend routine use of biocides such as chlorine bleach during mold remediation. Removing mold and drying the material remain essential; killing mold alone does not remove it or eliminate its potential to cause allergic reactions.
Bleach also does not make mold-damaged, porous drywall reliably cleanable. Vinegar, peroxide, and products marketed as “natural” should not be treated as substitutes for removing damaged material or fixing moisture.
If you use a commercial mold cleaner, choose one labeled for the surface and follow its application, contact-time, ventilation, and protective-equipment instructions. Do not assume a product intended for tile is suitable for painted drywall.
Never mix bleach with ammonia, vinegar, acids, or other cleaners. Do not layer different cleaners on a wall. Hazardous reactions can occur. For a small, suitable washable surface, detergent and water is the straightforward starting point.
Keep Bathroom Wall Mold From Coming Back
Control Humidity and Improve Exhaust
EPA guidance recommends indoor relative humidity below 60%, ideally between 30% and 50%. A hygrometer can help you determine whether the bathroom stays humid long after showers.
Run the exhaust fan during showers and afterward until lingering moisture clears.
Confirm that the fan discharges outdoors, not into an attic or wall cavity.
Keep the fan grille clean according to the manufacturer's instructions, with power off before cleaning.
Wipe water from shower surfaces and dry splashes on nearby walls.
Hang towels with enough space to dry rather than leaving them piled up.
A fan making noise is not proof that it moves enough air. If the bathroom remains damp, have a qualified contractor assess airflow, duct condition, and the outdoor termination. An electrician should handle new wiring or electrical repairs.
A dehumidifier may help control humidity, but it cannot replace effective exhaust or leak repair. Follow its placement instructions and keep it away from tubs, showers, and splash zones.
Repair Leaks and Dry Wet Materials Promptly
Periodically check fixture connections, tub and shower joints, and nearby wall finishes. Address failed sealant rather than repeatedly applying new caulk over a wet or deteriorated joint.
After a leak or spill, aim to dry wet materials within 24–48 hours to help prevent mold growth. This is a prevention target, not a guarantee that mold has not developed. Saturated or already moldy porous materials may need removal rather than drying alone.
Recheck the Cleaned Area
Inspect the wall after subsequent showers and over the following weeks. Lasting cleanup means the moisture source is corrected, the material stays dry, visible mold is gone, and mold-related odors have resolved.
If the same patch returns, do not simply switch to a stronger cleaner. Have a qualified professional investigate concealed dampness, condensation, or affected wall materials. Keeping the wall dry and sound is what makes the repair last.
Frequently asked questions
Can I remove mold from a painted bathroom wall without replacing the drywall?
Sometimes. A small surface patch on intact, washable paint may be cleaned gently with detergent and water, then dried thoroughly. Soft drywall, exposed paper facing, peeling paint, persistent odor, or recurring mold calls for further assessment and may require replacement.
Do I need to test black mold before cleaning it?
Usually not. Color does not reliably identify mold type or health risk, and routine testing is generally unnecessary when growth is visible. Focus on correcting moisture, assessing the affected material, and deciding whether professional cleanup is appropriate.
Can I paint over mold with mold-resistant paint?
No. Clean or replace affected material, correct the moisture source, and let the wall dry before painting. Mold-resistant paint may help resist growth on the paint film, but it cannot fix wet drywall, leaks, or persistent condensation.
How long should I run the bathroom fan after a shower?
Run it during the shower and afterward until lingering humidity clears. The necessary time varies with the bathroom, fan performance, and conditions. Use a hygrometer to check whether humidity stays elevated; persistent dampness warrants an airflow and duct assessment.
Why does mold keep returning to the same bathroom wall?
Recurring growth suggests that moisture remains or affected material was not fully addressed. Possible causes include condensation, inadequate exhaust, a concealed leak, or mold in porous wall materials. Repeated cleaning alone will not solve those problems.
Is it safe to use a bathroom with mold on the wall?
Patch size and color alone cannot establish safety. Limit exposure, keep vulnerable occupants away, and address the problem promptly. Stop using any fixture that is feeding a leak, and keep other occupants out during cleanup. Ask a healthcare professional about individual health concerns.